


I mean, honestly, why buy jarred baby food? It's expensive, often has added sugars and preservatives, it isn't fresh and...did I mention it's damn expensive for those tiny jars? In my mind it is so much easier, fresher, healthier and cheaper for you to make it yourself. Do you need anything special? No, not particularly. There are several products out there that help in making baby food, like the Beaba Babycook, which will run you upwards of $130, and you can stock up on Silicone Baby Food Freezer Trays from iPlay that will run you over $7.00 or you can work with what is in your kitchen.
Now, our kitchen happens to be pretty well stocked with all sorts of fabulous culinary tools, most of which I have no idea how to use, so for some people it may be easier to purchase actual baby food making products. But for us all we needed was a stainless steel food mill and some silicon ice cube trays that I scored for $3.00 a piece at Ross (Sidenote: I feel that it is important to use the food grade silicon trays as there may be BPA in regular plastic ice cube trays.)
It's almost too easy to even devote a blog entry to explaining actually making the food, but I have some super cute pictures of Lucy eating so I figured I needed to write this up as a precursor to the adorableness that is going to follow.
What you do:
- Buy veggies and fruits, preferably organic (we went to our local Farmer's Market, bought what was on sale at New Seasons (a local organic market) and stocked up Costco bulk organics as well used what was in our own backyard). Lucy's favorites were mangos, avocados, bananas, sweet potatoes, winter squash, green beans, peas, apples and pears (stay away from citrus!). If its the winter, as we are heading into now, and lots of the above are out of season then look to the organic frozen foods section, these are just as good and are often all ready for cooking and pureeing!
- Prep veggies or fruits. This means peeling, putting, chopping and steaming (if applicable, mostly for veggies).
- Puree veggies and fruits, we started out by mashing with a potato masher and then running them through the food mill (I'm sure a blender works as well).
- Younger babies = puree more and add water if necessary (the water from the steamed veggies is great to use). Older babies = forgo the food mill or blender and just mash well so that they will have some lumps to be able to practice chewing (make sure foods are small and soft still and always, always watch while baby eats).
- If babies are older try some fun combos of veggies and fruits that you've already tried in the past (to be sure there are no food allergies). Lucy LOVED Mangos and Avocados (we called them "Manacados"), which were SO good for her and funnily enough Rob's nieces who are 4 and 10 loved that concoction too when we made it for Lucy while on vacation. See what your baby likes and mix it up a bit!
- Put food into silicon trays and freeze (perfect baby serving size!). When fully frozen transfer to gallon freezer bag (you can reuse these, no need to use a new one every time) and suck out the air with a straw to keep freezer burn away.
- Voila! Servings of fresh fruits and veggies for baby!
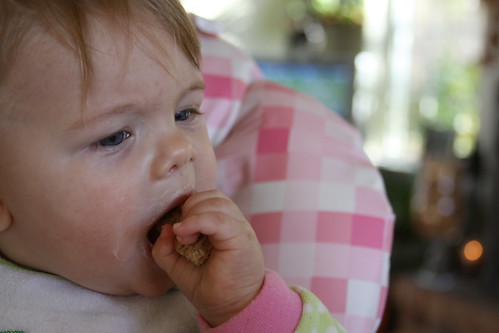
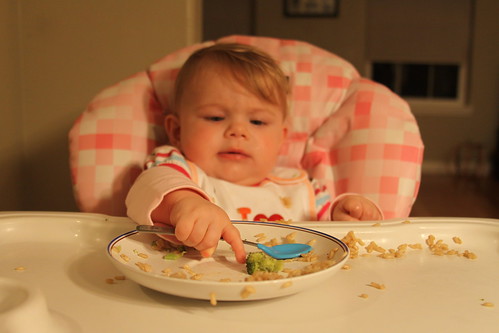
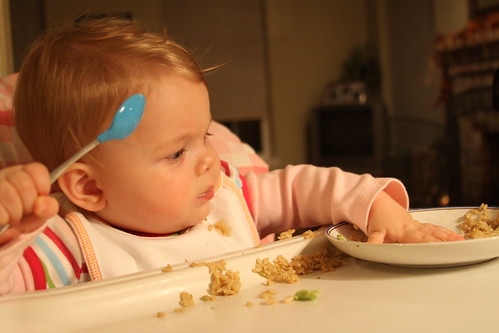
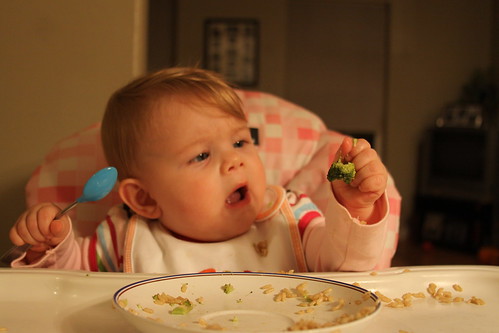
Here's my big girl eating her big girl food:


Next time we make veggies and fruits I'll take a picture of the process. I wish I had some for this post but they're on my old computer and I just wanted and excuse to post our latest eating adventures pictures!
What about you, dear readers, have you tried making your own baby food yet? If not, is there any details that I'm leaving out? Let me know!
Coming up, a Friday Giveaway!
"I always wondered why babies spend so much time sucking their thumbs. Then I tasted baby food."
-Robert Orben
-Robert Orben